You’ll be glad you did!
The holidays are all about family, and traditions that grow and blossom. No matter if you change where you celebrate the holidays every year, or do it in the same location, everyone changes from year to year! Especially your children! People always talk about how important it is to capture your children each year as they grow. And while I know it’s true, it’s also just plain obvious. You love seeing your kids grow each year and how much they change. From that first day of school photo at your front door to the last day of school. But what about just the two of you whether you have kids or not?
Recently, I personally experienced the importance of reflecting back through the years in my photos. It was super fun, but I really wish I had a photo to represent each of our early years. I’ve learned it’s never too late to start. I have vowed to have a professional photo taken of Aldo and I every year, so that in 20 years or 50 years, I have images that we can look back on, laugh at and talk about what babies we were.
I share this with you because I don’t want you looking back in 14 years wishing you had taken professional photos. There’s nothing better than proudly sharing your life with your friends and family, no matter the style or look that you were rocking at the time. When I was looking back at our photos, I was like, “Wow, I just dated myself, lol.” But I am still so very happy to have them so I can reflect back on the wonderful years I’ve shared with the love of my life. I’m even more excited that I have current ones that represent us as a couple, showing our relationship and style.
I know there are also instances where you can’t take professional photos that year. Maybe your child from college is flying in just for Christmas Day. Maybe you spend your holidays at a remote log cabin. It can be tricky to get great group photos, so I wanted to share with you some of my favorite tips! Let us know if you have any questions, or show us your results! We would love to see!
Find The Best Light
Lighting is the most important thing in any photo. The best kind of lighting is soft, natural, diffused light, such as window lighting. The same rules apply for outdoor photos … soft natural diffused light. The best time of day to shoot is what professional photographers call the golden hour. Either early morning just as the sun is coming out or just before sunset. In my line of work with weddings, we understand these situations aren’t always achievable on the go. So, look for soft evenly shaded areas.
Since you might be taking group photos and rounding up the troops, it might even be a good idea to scope it out ahead of time! Again, be aware of your background. If it’s too light or too dark, your subject will get lost. Avoid harsh shadows and shooting the subject facing the sun. This will produce squinting eyes and unwanted shadows. Also beware of too dark of areas. All too often we see subjects being photographed in dark dingy corners where they tend to get lost.
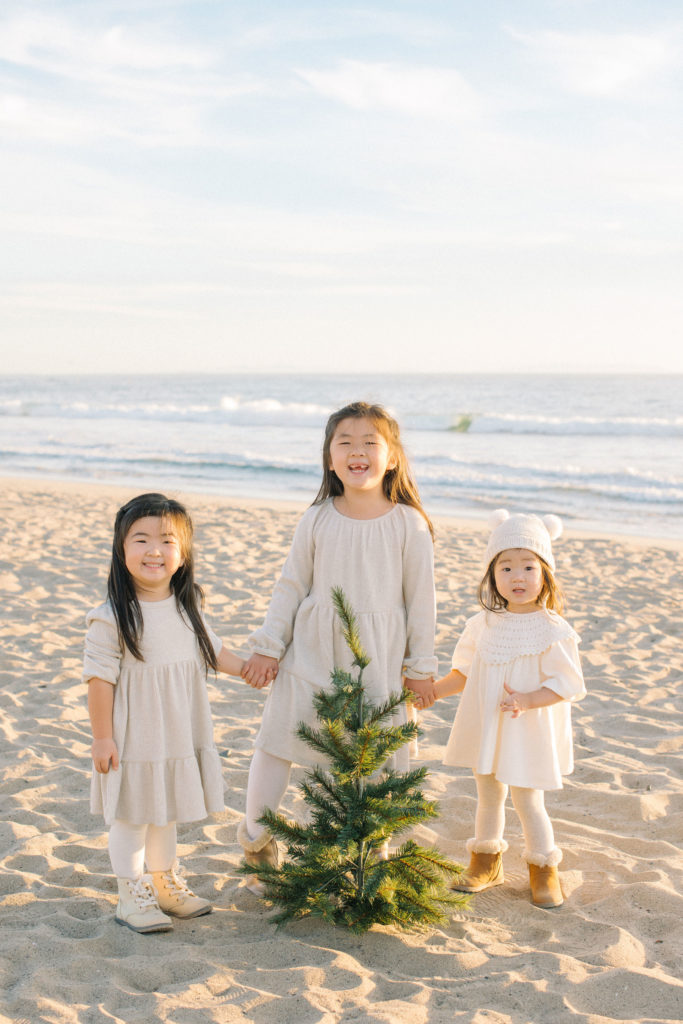
Our eyes can determine both dark and light exposures at the same time, but the camera cannot. Ever have a subject with the beach as the background and either the beach is properly exposed but your subject is too dark or the subject is correct and the beach is blown out? This is because the camera can’t capture what we see with the naked eye. Most mobile phone cameras will capture everything overall and guess at what the best mix will be. This means if you aren’t paying attention, you’ll won’t get the photo you’re aiming for. Try tapping on the main subject to achieve the best exposure. Sometimes, though, even that won’t work. In that case, you’ll need to rethink your background and lighting situation. Look for that open soft shade or window lighting.

Composition
Experiment with different perspectives and cropping. A common mistake is always putting the subject directly in the center of the frame.
You don’t have to always center your subject. Learn the rule of thirds. Try an angle from above or below. Set your subject off centered.
Pose people either sitting or standing or a combination of both sitting and standing. Make sure people’s faces aren’t covered.
Easy Poses:
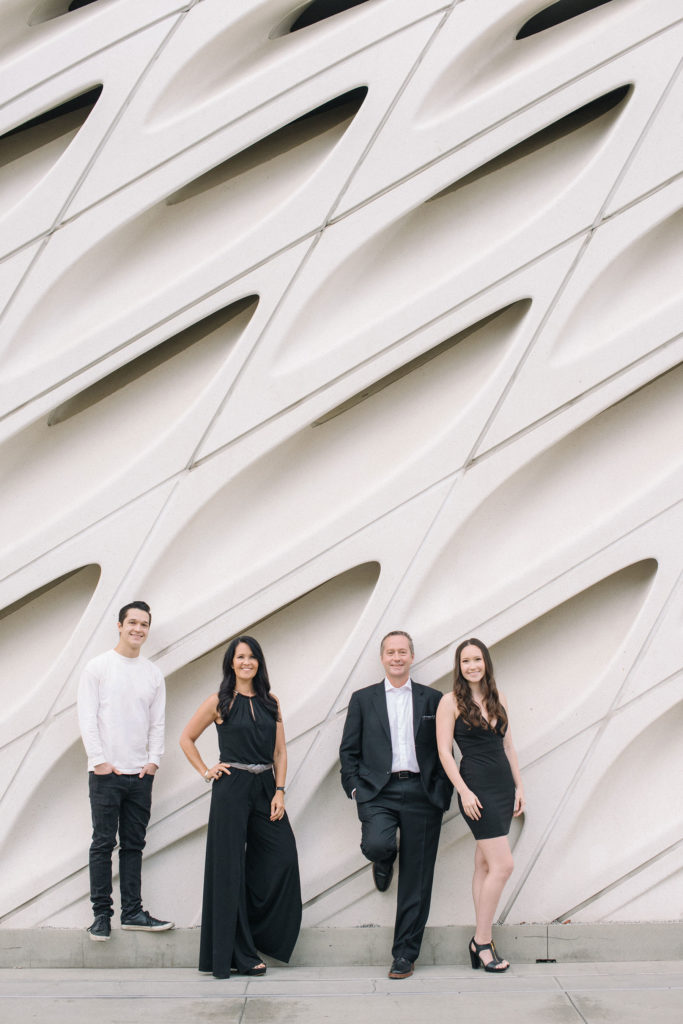
Line Up – This can be done with any number of people and creates a photo that will make certain that no one is hidden behind someone else.
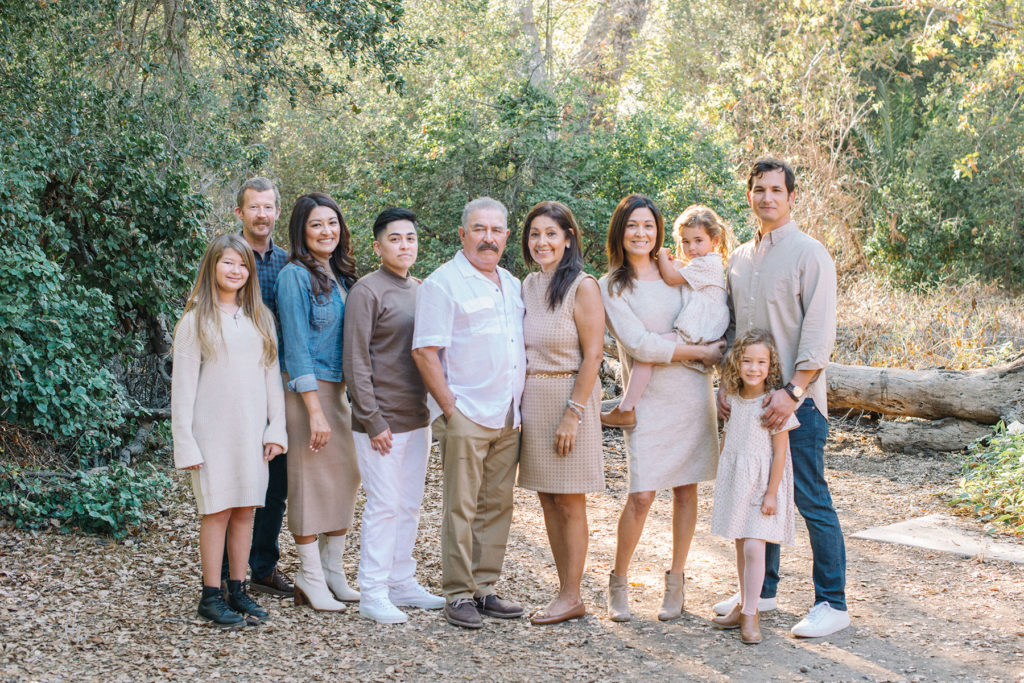
Rows – Create several rows for larger groups. For example, back row stands, middle row sits on chair/kneels, and front row sits on floor. Just be sure to watch placement of legs and hands.

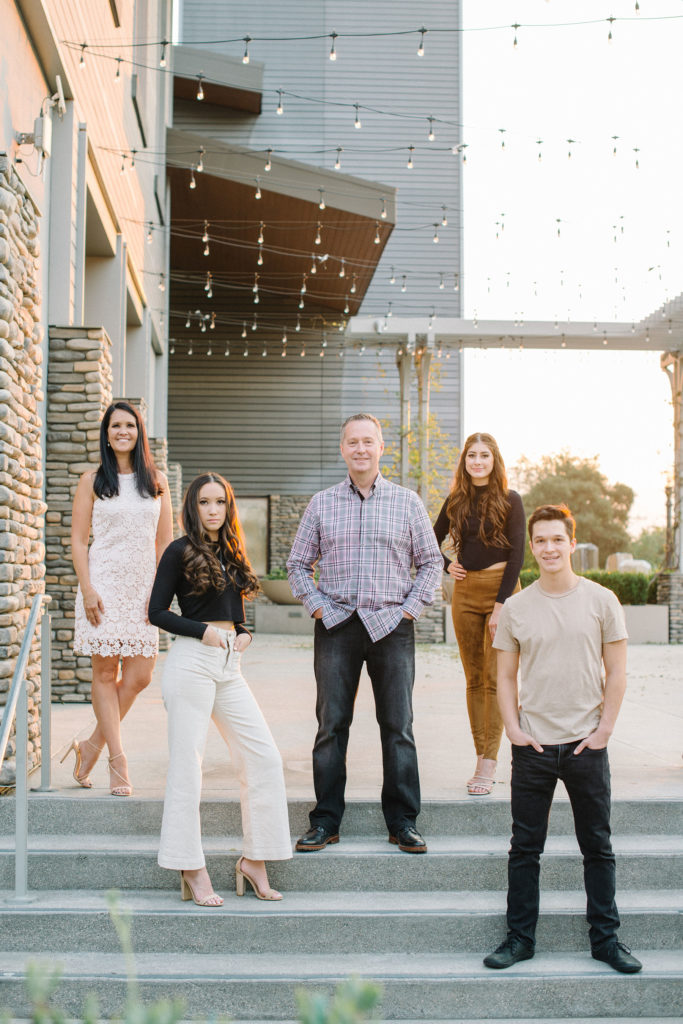
Staggered – Position people in a staggered formation. Instead of posing the group in line-up or row, arrange them in a more triangular pattern. Try to separate people of equal height from standing together to make a more triangle dynamic posing.
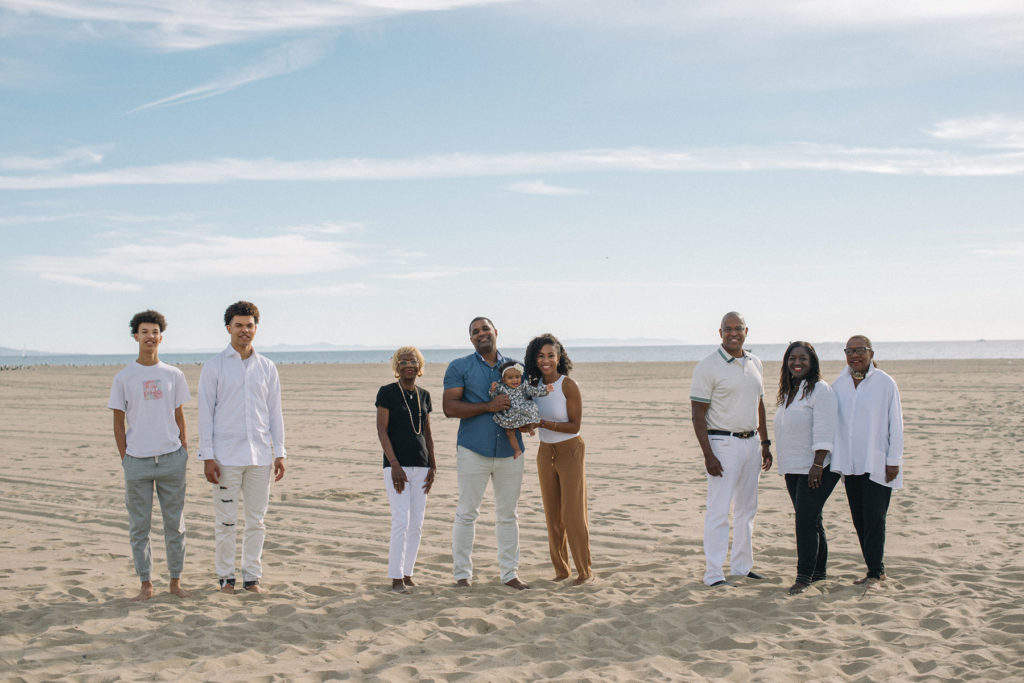
Strike a Pose – Make sure to not all be standing straight and tall with hands to side or in front of their body. Bend a knee or elbow, cross your arms, legs, ankles. Even a hand in the pocket!
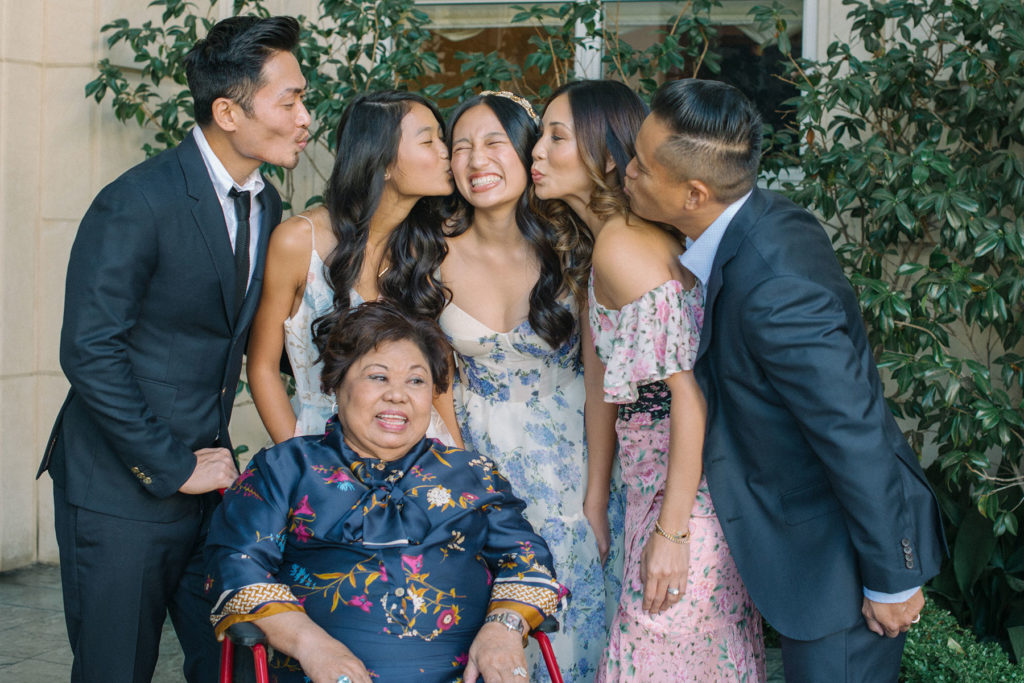
Photographing Children
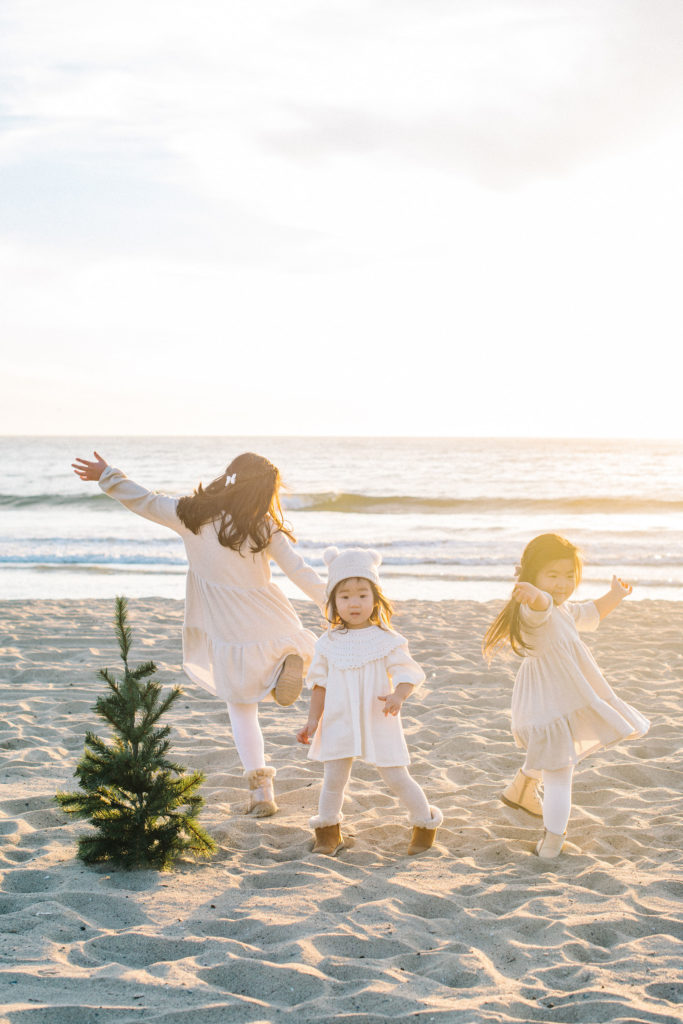
Photographing children is always a challenge, sometimes even more so when mom and dad are doing it. We recommend getting down on their level. Get low, talk to them, engage with them. Make them laugh and wait for that perfect expression that best expresses their personalities. This is where you have an advantage, because you know them best. You know that expression right before it happens, so be ready to click. If you try to force smiles or make them stand stiff and still that’s the look you’ll get. Put them in the right lighting with the right background and let them be them. You’ll know when to capture that perfect moment for your group photos.
Stay Positive
The #1 rule when photographing anyone is to stay positive and give lots of affirmation that the subject looks amazing. If your kids are making funny faces, make them back. I promise it will make them laugh and if you’re ready, you’ll capture the perfect smile. With couples, the same thing applies – OK, maybe not the funny faces, but you never know … that might work, lol. Just keep it upbeat and positive and you’ll get that emotion you desire. I have to make Aldo sincerely laugh anytime we take a photo, otherwise he looks like a grumpy old man! I do this by any means necessary – being a goofball, tickles, stupid jokes, whatever – but it works, we manage to get some awesome smiles out of him. Also, remember you don’t always have to smile for portraits!
When you have fun, like chatting, laughing, behind the scenes, you get the best photos! These make for great memories and capture the true essence of the group. Once everyone is in position get your group to laugh or interact for a fun portrait.
Free Guide – 9 Ways to Look Beautiful and Confident for Your Photos
Did you know that I offer a free guide with my top tips on how to look beautiful and confident in your photos? This guide is also a perfect resource for when you are planning group photos, with many tricks to helping you nail the perfect images! Click below to get the guide delivered to you instantly via email!


share